A useful Teams audio check has three layers: a known signal outside Teams, the pre-join device controls, and a real Teams test such as Make a test call when your account and client expose it. Passing only one layer is not enough. The sequence below shows where a failure begins without pretending that a browser can hear your physical speakers.
Quick answer
Before the meeting, run the Speaker Test and Microphone Test. Then open Microsoft Teams, go to Settings → Devices or the audio settings shown by your current client, and select the intended speaker and microphone. Use Make a test call if it is available. When joining a scheduled meeting, inspect the pre-join screen, confirm the device choices, and speak once to see whether the input indicator responds.
Microsoft documents that test-call availability can vary. It may not appear in Teams for web and can be unavailable for some account types or organization policies. Treat a missing button as a capability difference, not proof that your hardware failed.
Establish a browser baseline
Start outside Teams so that you know whether the operating-system path works.
- Set output volume to a moderate level and close media you do not need.
- Open the Speaker Test and play a controlled signal.
- Confirm the sound comes from the actual headset or speakers you intend to use.
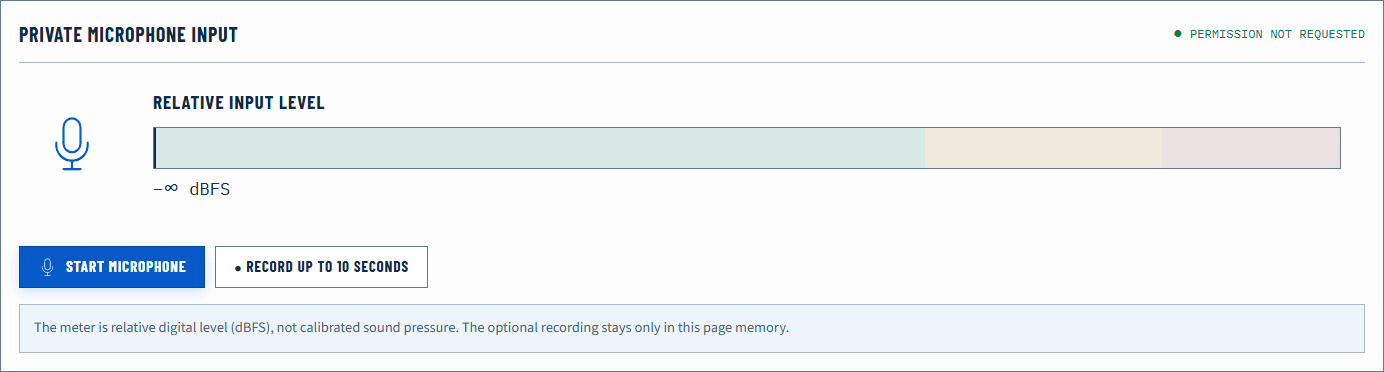
- Open the Microphone Test, allow access when asked, and speak normally.
- Check that the relative meter moves and that a short local recording is intelligible. The recording remains in memory and is not uploaded.
If the speaker baseline is silent, Teams is not yet the useful place to troubleshoot. Resolve system output first. If the microphone test shows no response, check the operating-system input and browser permission before changing Teams noise suppression or meeting options.
The browser baseline and Teams may still select different devices. That is the point: a baseline tells you the hardware path is capable, while the next step checks whether Teams follows the same route.
Test from Teams device settings
Open Teams settings and find the device or audio section. Confirm the speaker, microphone, and—if relevant—camera independently. A headset name may appear more than once when the operating system exposes different Bluetooth routes. Choose the route intended for a two-way call, then listen for any supported speaker test.
Where Make a test call is offered, start it in a quiet room. Teams records a short message and plays it back so you can compare the incoming and outgoing paths. Listen for three things: whether playback reaches the correct device, whether your voice is loud enough without distortion, and whether noise or dropouts appear. The test is more informative than watching an input meter alone because it exercises capture and playback.
If Test Call is absent, use a private meeting with a colleague or a second authorized account. Do not use an important live meeting as the first test. Keep the call brief, state that it is an audio check, and ask for a description of level and clarity.
Use the pre-join screen
Open the actual meeting link early. The pre-join screen is the final check because it reflects the meeting context you will use. Review the speaker and microphone choices, confirm mute state, and open any available device settings. Speak at your normal distance and watch the input response.
Do not assume that a moving microphone meter proves the selected speaker works. Input and output are separate paths. Likewise, hearing the Teams join sound proves playback but not microphone transmission. Verify both.
If the pre-join screen chooses a different device than Teams settings, record the discrepancy before changing it. Docks, monitors, USB interfaces, and Bluetooth devices can become the operating-system default when connected. Explicit selection is safer for a critical meeting.
Interpret common failures
| Observation | Likely layer | Next action |
|---|---|---|
| Browser speaker test is silent | System or hardware output | Check system output, mute stages, power, cable, or Bluetooth route |
| Browser works; Teams test playback is silent | Teams output selection or app mixer | Select the speaker explicitly and inspect per-app routing |
| Browser mic meter is flat | System input or permission | Select the input and review microphone privacy permission |
| Browser mic works; Teams input is flat | Teams microphone selection or organization policy | Select the mic in Teams and review managed-device restrictions |
| Test Call works; meeting audio fails | Meeting-specific device state or connection | Reopen device settings in the meeting and check network quality |
| Sound becomes narrow when the mic opens | Bluetooth voice profile | Compare a wired route or separate microphone |
For a silent left or right earpiece, use the Left and Right Audio Test rather than continuing through Teams menus. A channel or balance fault is operating-system or hardware territory.
Check Windows and macOS routing
On Windows 11, open Settings → System → Sound and confirm output and input. Then inspect Volume mixer while Teams is active. Per-app volume and output assignment can differ from the system default. Our Windows 11 sound testing guide provides the full isolation sequence.
On macOS, open System Settings → Sound and verify Output and Input. Check the output balance and input level. Browser or Teams microphone access also depends on macOS privacy settings. Changing a privacy permission may require quitting and reopening the affected app.
Organization-managed devices can restrict microphone access or hide features. If controls are unavailable rather than merely set incorrectly, document the client, account type, and missing control for your administrator. Randomly reinstalling Teams will not override a managed policy.
Know what the tests cannot prove
A local browser recording does not traverse Teams servers, echo cancellation, or the other participant’s connection. A Teams Test Call is closer to the real workflow, but even it cannot guarantee conditions in a later meeting. Network congestion, room acoustics, and another participant’s device remain outside the baseline.
Input meters are relative digital indicators. They are not calibrated sound-pressure measurements. Avoid chasing an exact visual level across different microphones; listen for intelligibility and maintain headroom below clipping.
Avoid common pre-meeting false positives
A test can appear to pass while validating the wrong hardware. If a laptop speaker produces the Teams test tone, confirm that the USB headset you intend to wear also produces it. If the input meter moves, identify the microphone by speaking close to the intended capsule and then moving away; a distant laptop array may respond even when the headset mic is muted.
Noise suppression can reduce steady fan noise, but it does not prove that microphone placement is good or that a cable is stable. Establish a clean physical route first. If you compare processing modes, keep the same sentence, distance, and room noise, and change only one option.
Do not treat a successful camera preview as an audio test. Camera and microphone access are separate permissions. Similarly, the pre-join input indicator does not test the speaker. Complete both directions.
Escalate with useful evidence
On a managed Teams account, some device features and test controls can be limited by policy. If the relevant control is missing or disabled, provide the administrator with the Teams client type, operating system, account context, selected input and output, and the exact layer that passed or failed. State whether the browser baseline passed and whether a private Teams meeting reproduced the issue.
Avoid sending recordings that contain other participants or confidential meeting content. A short local sentence and the structured observations above are normally enough to describe routing, level, or permission behavior. If only one organization-managed device fails while the same headset works elsewhere, preserve that comparison.
Final five-minute verification
Reconnect the same device you will use, close applications that can claim the microphone, and repeat the browser speaker and mic checks. Open the meeting link, confirm both device names, and keep the microphone muted until needed. Have a backup route—such as wired earphones or phone dial-in—available if the meeting is important.
After any change, retest the same step. If a Teams-only failure remains while both browser tools pass, preserve the evidence: selected device names, whether Test Call appeared, and whether the issue affected input, output, or both. That information is far more useful to an administrator than “Teams audio does not work.”
Official sources
Application and operating-system controls can move. These primary references are the update baseline for this guide.